Revive and Thrive: DIY Furniture Repair and Restoration
Chosen theme: DIY Furniture Repair and Restoration. Welcome to a space where wobbly chairs regain their dignity and scratched tabletops glow again. We share hands-on techniques, small triumphs, and honest mistakes so you can bring cherished pieces back to life. Subscribe, comment with your current project, and let’s restore something remarkable together.
Tools and Materials That Make Restoration Easier
Begin with a block plane, card scraper, chisels, a rubber mallet, and quality clamps. Add liquid hide glue, PVA, a small brush set, and shellac flakes for versatile finishing. A friend once saved a family heirloom with only three tools and calm patience; simplicity often wins.
Tools and Materials That Make Restoration Easier
Use reversible liquid hide glue for antique joinery, PVA for everyday assemblies, and epoxy when damaged fibers need reinforcement. Pair wood-specific fillers with sawdust for convincing color blends. Share your glue horror stories below, and we’ll help troubleshoot sticky situations in future restoration guides.
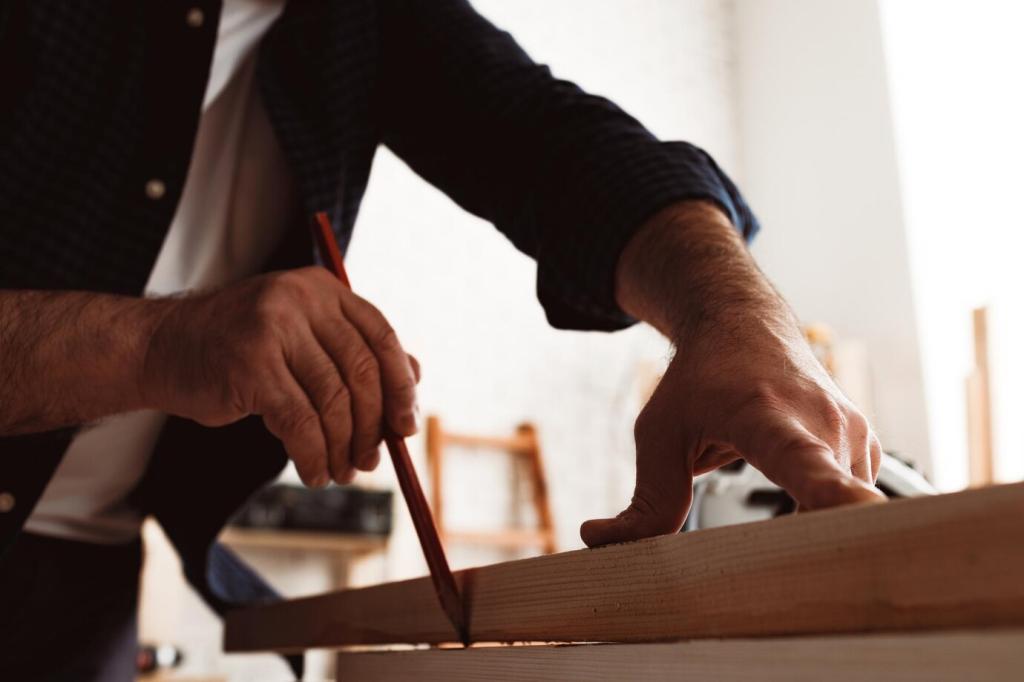
Read the wood and the joinery
Identify face versus end grain, then study dovetails, mortise-and-tenon joints, and dowels. Gaps often signal failed glue, while shiny surfaces reveal past sanding. Original tool marks suggest authenticity. Follow grain direction to plan invisible repairs that respect the piece’s structure and long-term stability.
Find structural weaknesses
Gently rack the frame diagonally to feel movement, then mark flex points with chalk. Check corner blocks, aprons, and rails for hairline fractures. Loose tenons and tired dowels hide beneath old finishes. Take notes, sketch solutions, and post your findings; we’ll help you prioritize the repair sequence.
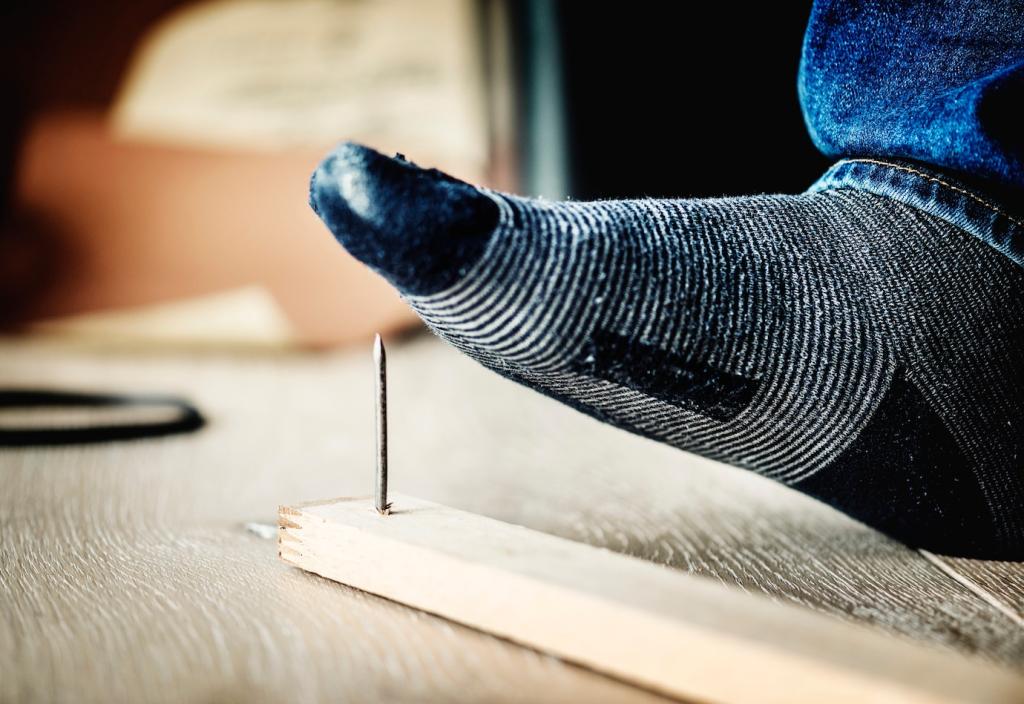
Spot old repairs and quick fixes
Look for squeeze-out lines, mismatched fasteners, and staple shadows under upholstery. Color differences can reveal patched veneer. Once, a reader found a drywall screw holding a chair together—surprisingly sturdy, but not sustainable. Share your strangest discovery; we’ll feature the best in our next newsletter.
Consolidate, don’t replace, when wood is punky
When water damage softens a leg or foot, inject epoxy consolidant to penetrate and harden fibers. Use syringes or tiny channels for even distribution, then shape filler only where necessary. Saving original wood keeps history intact and often outlives aggressive replacement strategies under real-world use.
Patch with grain-matched inlays
For chips and gouges, cut a clean, squared recess and create a matching dutchman patch with aligned grain. Glue, clamp, and plane flush after cure. A coffee-and-shellac tint can blend color nicely. The satisfaction of a disappearing repair rivals any new purchase—share your before-and-after photos.
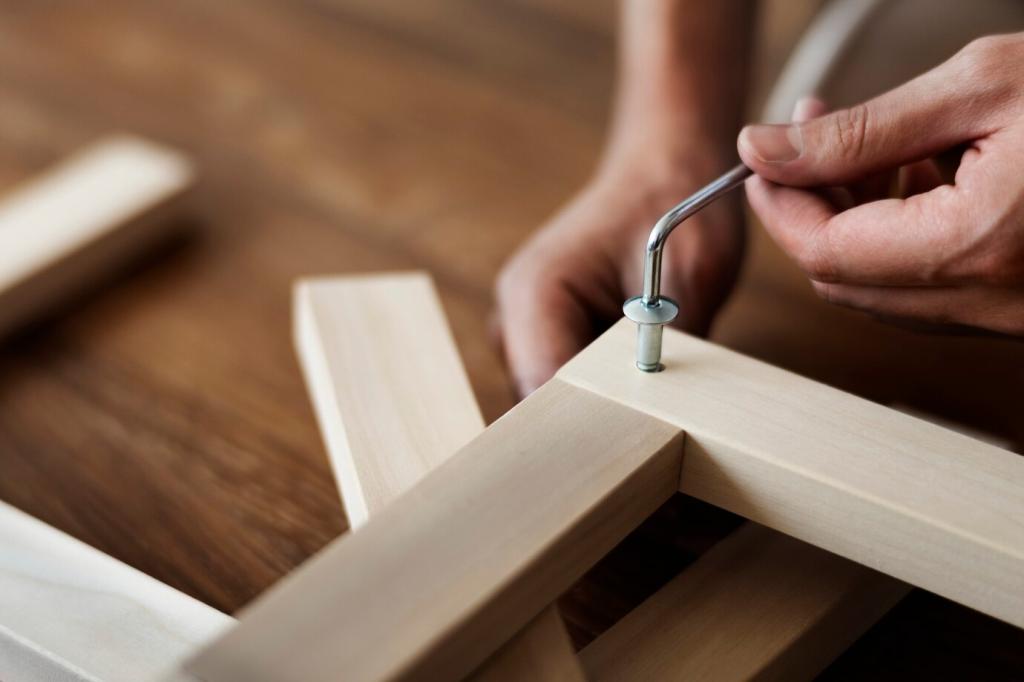
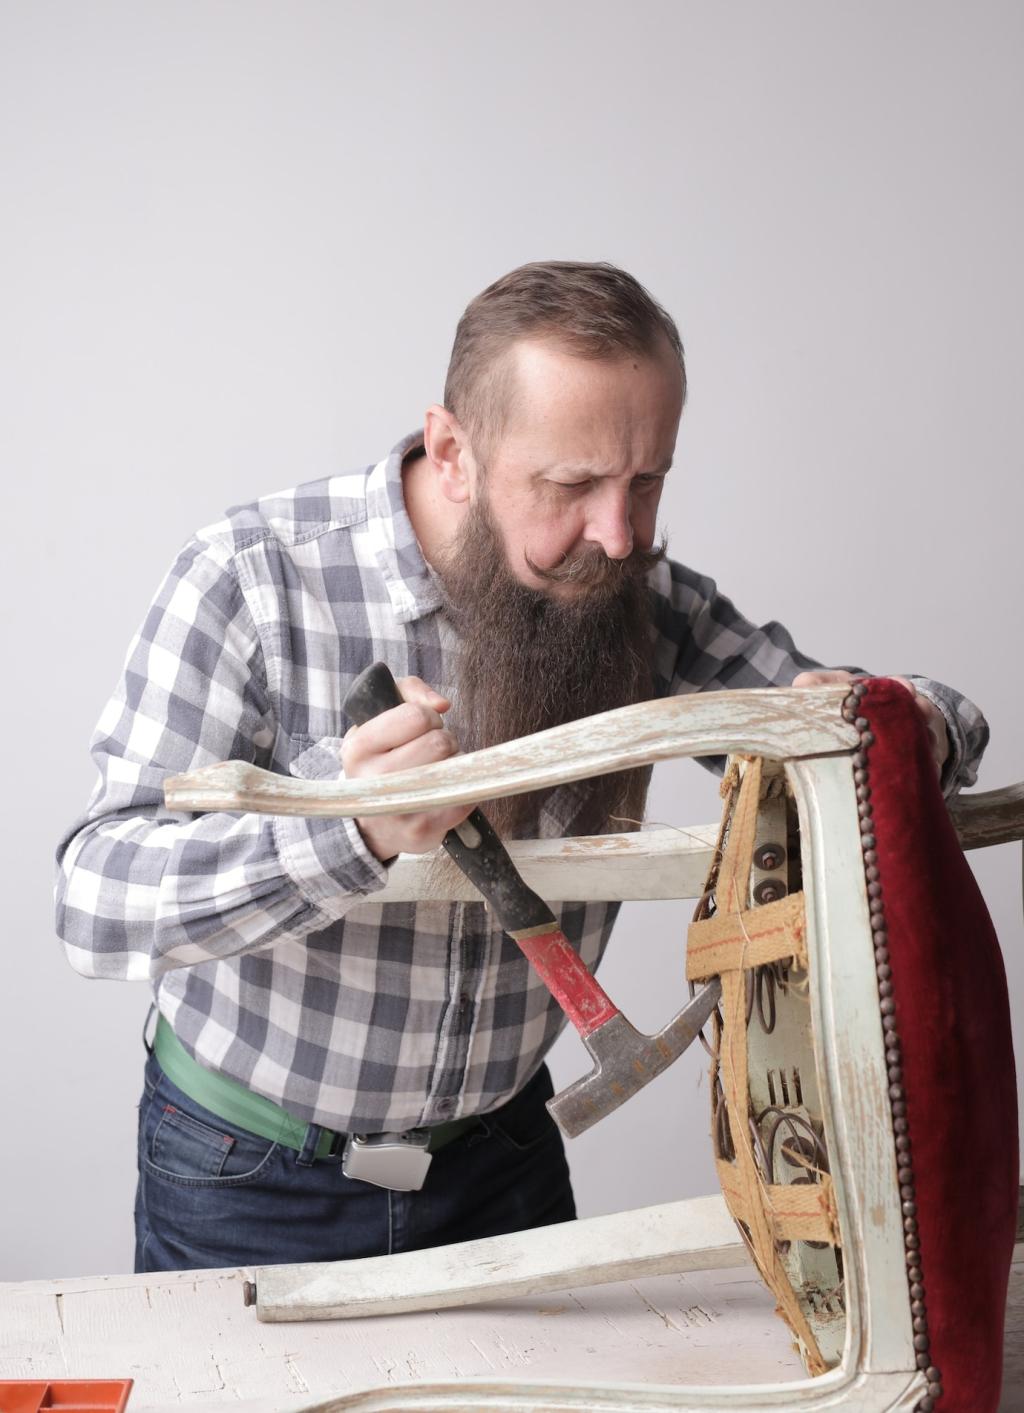
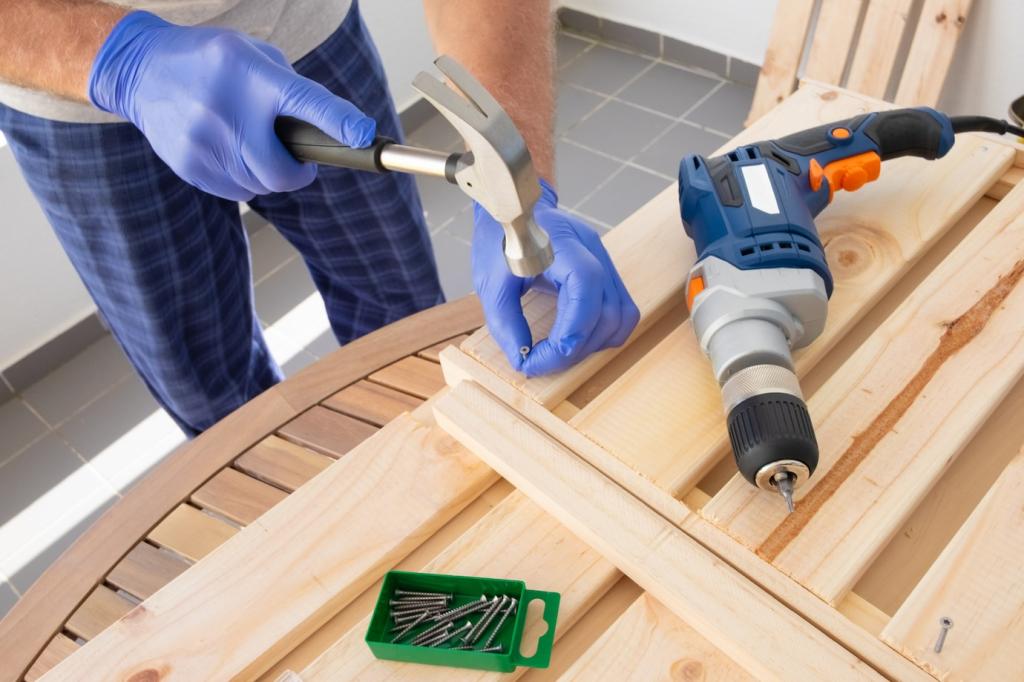
Re-glue joints with compatible glues
Hide glue excels for antiques due to reversibility and creep resistance. PVA suits modern joints, while epoxy can rescue stripped screw holes. Use cauls to prevent clamp dents, and avoid overclamping that starves joints. Post your clamping conundrums, and we’ll suggest pressure and placement strategies.
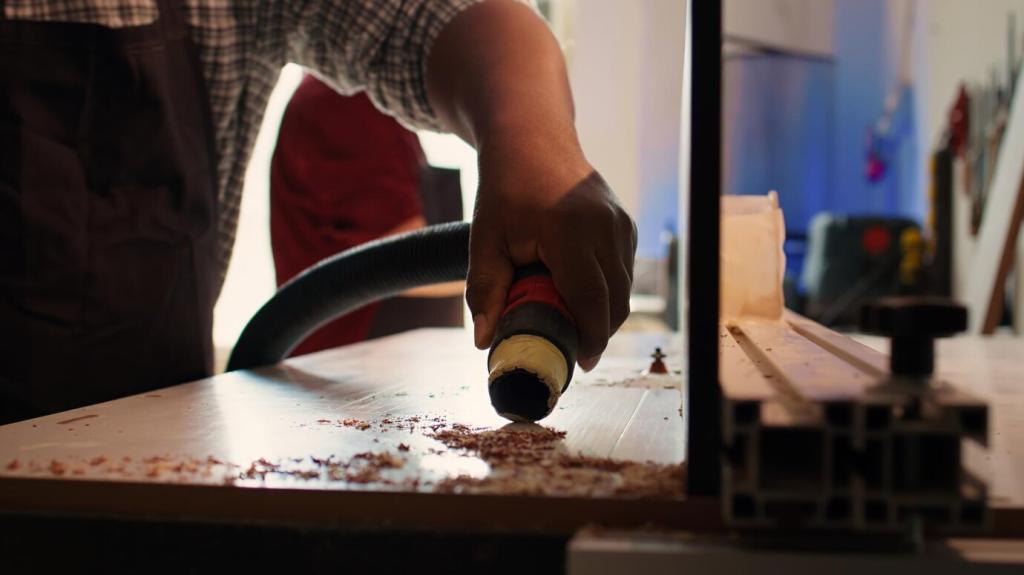
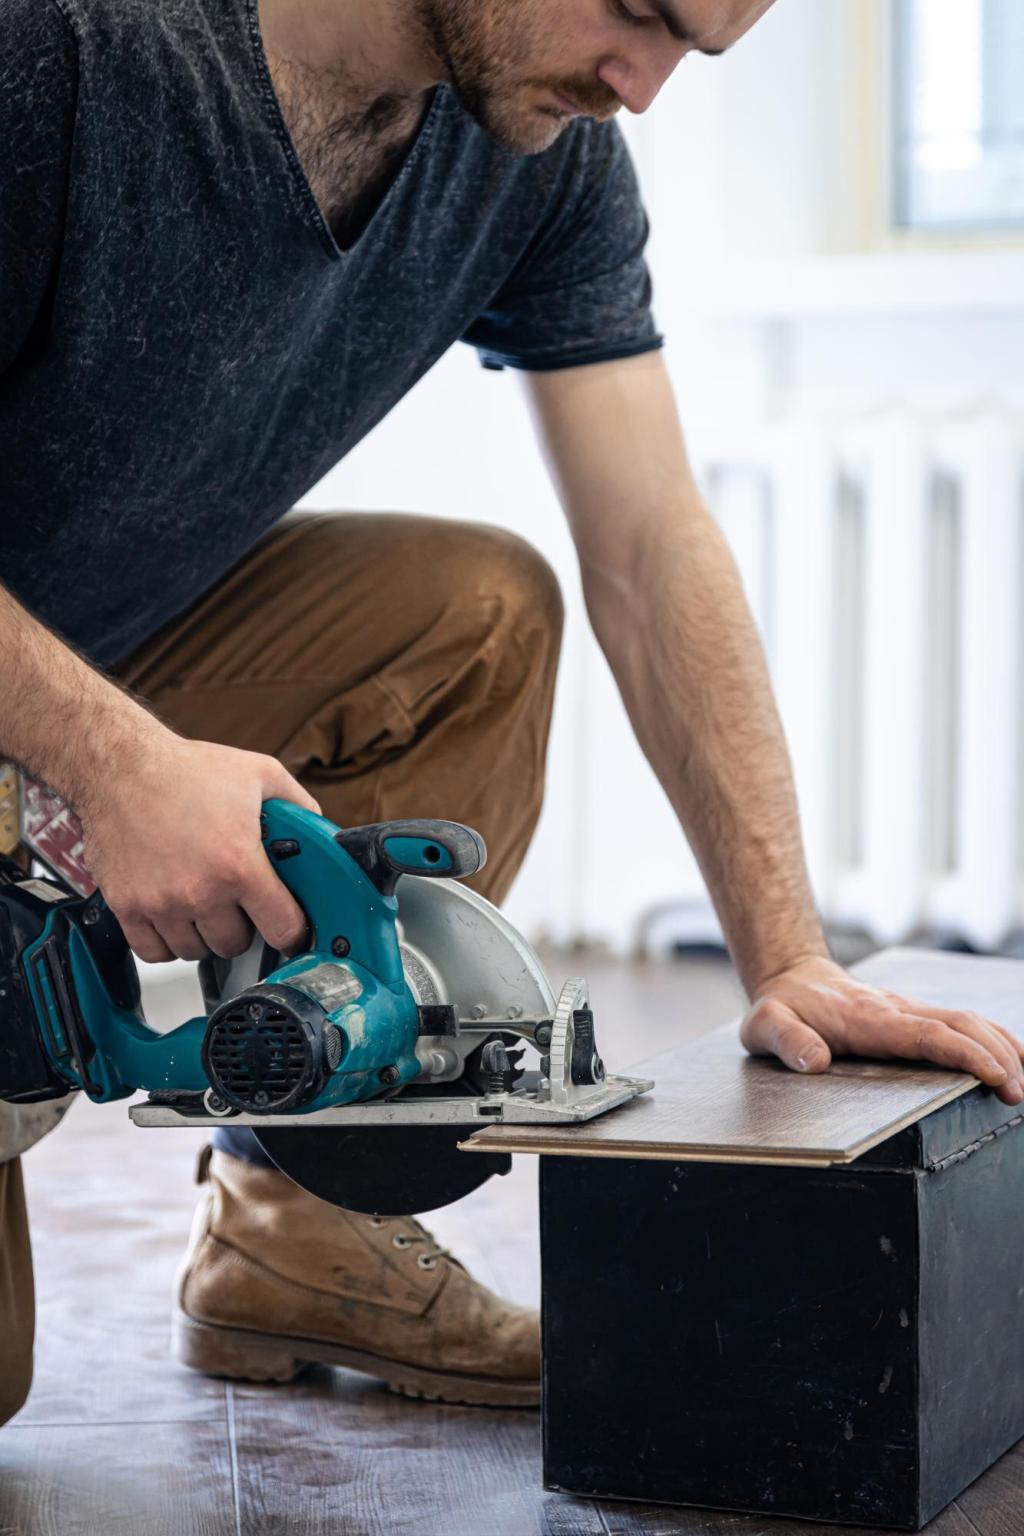
Stripping, Sanding, and Gentle Surface Prep
Use a citrus gel stripper for control and minimal odor, and test shellac solubility with alcohol before stripping everything. Heat guns risk raised grain and burn marks if rushed. Protect carvings by softening and brushing out finish rather than sanding them flat and losing beautiful detail.
Stripping, Sanding, and Gentle Surface Prep
Work through grits methodically—120, 180, 220—using a sanding block to keep edges crisp. A sharp card scraper removes finishes without rounding profiles. Pencil guide lines ensure even leveling. Vacuum thoroughly between grits, and use a tack cloth sparingly to avoid contaminating wood fibers before finishing.
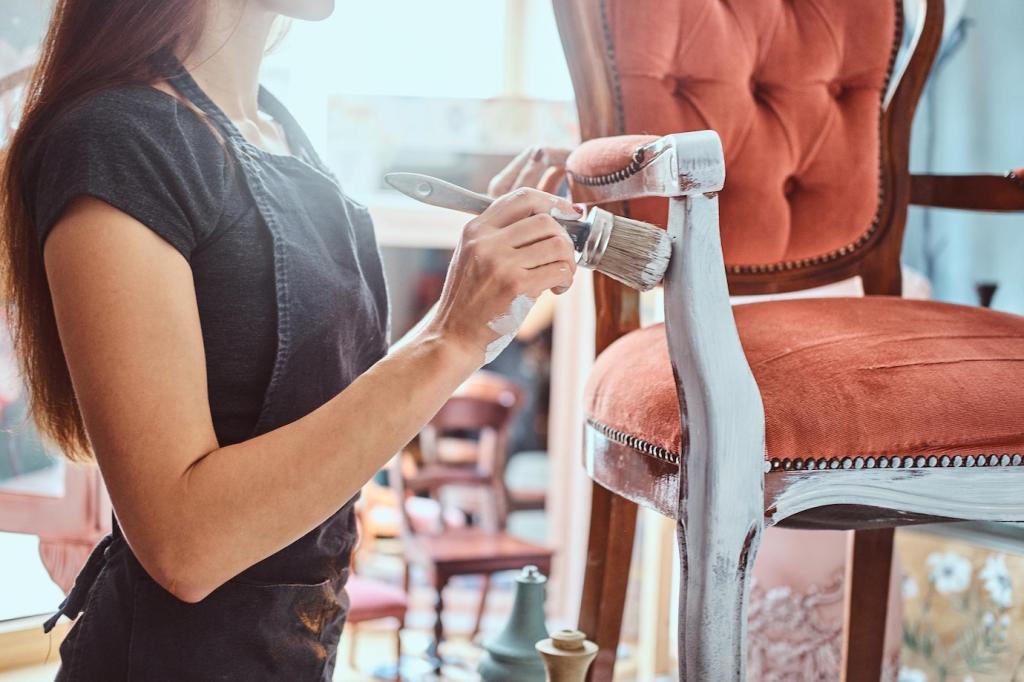
Finishes That Celebrate the Wood
Oil adds warmth and depth, shellac offers beautiful clarity and easy repair, lacquer sprays fast with superb leveling, and waterborne options keep odors low and cleanup simple. Consider abrasion resistance, heat tolerance, and future repairability before committing. The best finish fits both wood and life.
Check jute webbing for tension and zigzag springs for fatigue. Tighten corner blocks and lubricate squeaky joints with talc or wax. Reinforce weak rails before replacing cushion layers. The most comfortable seat starts with a sound frame, not just prettier fabric stapled on top.
Upholstery Touch-Ups That Transform a Piece
Select foam by density and firmness rating, wrap with cotton or polyester batting for soft edges, and staple on a breathable dust cover to finish. Use orderly staple patterns to avoid ripples. We revived a sagging ottoman this way—no sewing required, just patience and alignment.
Protect, Maintain, and Enjoy Your Restorations
Dust with microfiber, avoid silicone polishes, and renew paste wax on high-touch surfaces a few times a year. Treat water rings with gentle heat under a cotton cloth, and use coasters consistently. Share your maintenance habits, and we’ll build a collective guide from community wisdom.